
Hello friends!
COUNTDOWN TO CHRISTMAS: 46 DAYS!

Hello everyone, I have worked on this DIY for the past couple days. It is the simplest DIY I have ever done! One day I arrived home from work and saw a branch in my drive way that had fallen from a tree on our front lawn so I picked it up and thought I could do something creative with it. Of course after looking on Pinterest I got inspired to make a winter tree branch display using the branch. I made the paper ornaments using a tuturial on the blog
How about Orange called "DIY paper teardrop ornaments".
Check out her blog if you are interested in making some yourself! they are light which make them perfect for the tree branches more delicate branches and they are easy to make and beautiful.
I loved making this craft and it turned out beautifully, I hope you give it a try and have fun!
The Materials needed for this DIY are:
- tree branch
- acrylic white paint
- sponge brush or any type of brush you have
- vase
- optional pinecones for the vase or any other decorative materials.
 |
| Tree branch |
 |
| Acrylic Paint |
 |
| Sponge brush |
 |
| Clear vase |
Step one:
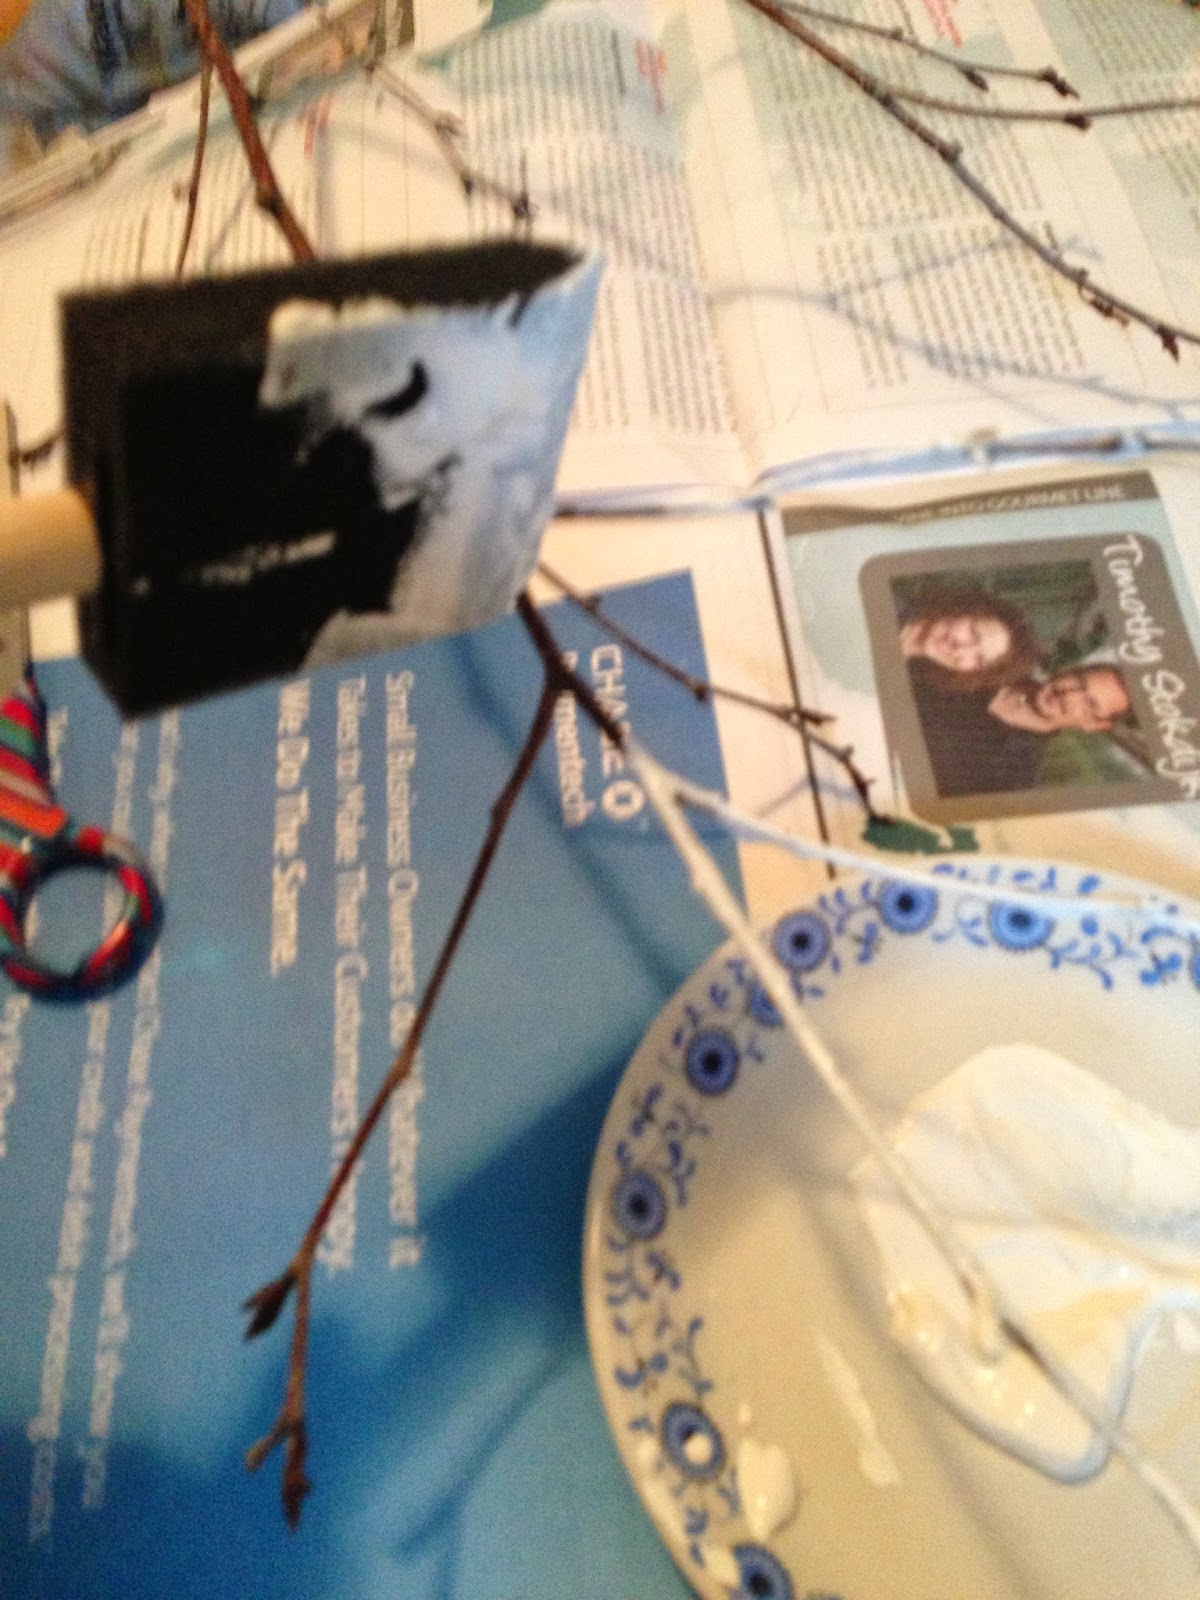
After taking the leaves off of the branch, you can begin painting the branch white. The paint goes on smoothly. I started from the tips of the branch then finished at the thickest part of the branch I found it easier this way. Once the branch is fully painted you can let it air dry on a newspaper.


Place the dried tree branch in a vase and add some pinecones to the bottom of the vase. I arranged the pinecones until I was happy with the way the branch was standing. Sometimes the pinecones pushed the branch over so just keep adjusting until you are happy with how the branch stands.

Once you are done adjusting how you want your branch to sit, you can add some light ornaments. I made my own paper ornaments using a tuturial from a blog: How about Orange called "DIY paper teardrop ornaments" if you want to also make these ornaments.

Then you are done! I hope you enjoyed looking at this DIY. For more DIY Tuturials done by me, please click on the link above that says " DIY Tuturials". Thank you!

No comments:
Post a Comment
Thank you for visiting my blog! I really enjoy reading your comments, I will reply as soon as I can!
Lisa